Installing Libreboot on my ThinkPad T480s
I recently found out that Libreboot, a distribution of open-source boot firmware, had been ported to the Thinkpad T480 and T480s. I had some time off work, and decided to install it on my laptop for fun.
In this post, I’ll walk through the process I used to install it, and some general tips for anyone trying to do the same. For those who aren’t full-contact computer nerds, it’s a pretty complex and fraught process, but I hope I can provide some useful info regardless.
I’m also writing this post on my now-Librebooted laptop!
Libreboot#
Libreboot is a free and open-source distribution of boot firmware (i.e. BIOS/UEFI) for laptops, desktops, and other machines, based on the coreboot project. The idea is to replace the completely proprietary firmware on your machine with something as open as possible, eradicating as many proprietary blobs as possible while still retaining functionality.
This is, of course, some heavy computer-toucher stuff - most free software folks are fine with just running a regular Linux distro, but if you’re a big time fan of de-blobbing, or own a vast selection of ThinkPads, it might be up your alley.
There are some practical reasons to install Libreboot or coreboot as well, beyond the philosophical reasons. For laptops with vendor allow-listing for specific hardware like SSDs or DIMMs, open firmware completely removes those. On most supported Intel machines, it also disables the Intel Management Engine as much as possible - I won’t go into the background and beliefs surrounding the Intel ME, but I know some folks would prefer it disabled.
ThinkPads and deguard#
I’ve been running a ThinkPad T480s for a good few years, and I’m a huge fan of it. It’s pretty well-built, they’re extremely cheap ex-lease, and even though it only has an Intel 8th Gen chip, it still has plenty of grunt for anything I need.
Most of Libreboot’s supported boards are quite old, around Haswell (4th Gen) era or so - far older than the T480s. This is mainly a result of some security features present on newer hardware - namely, Intel Boot Guard, which prevents running unsigned code at boot-time and sits in the Intel ME, which itself only runs signed code.
Back in 2024, support for the T480s (and its chunkier T480 brother) was added to Libreboot. This was thanks to some bugs in the Intel ME (INTEL-SA-00086) that allow for arbitrary code execution before Boot Guard is enforced, which the deguard tool exploits. deguard and me_cleaner are integrated into the Libreboot build process, resulting in a firmware image that bypasses Boot Guard, then completely kneecaps the Intel ME.
RTFM’ing#
Installing custom boot firmware is a pretty complex process, and if you’re planning on doing it, you really, really should read the Libreboot documentation front to back. It’s a lot easier with Libreboot than building and flashing plain coreboot though - the whole point of Libreboot is to provide a relatively simple build system and good documentation.
In order to install Libreboot, you unfortunately need some hardware. Most laptops lock out the firmware flash, which is generally a good thing, but it does prevent flashing custom firmware from software. The main thing you’ll need is a test clip to attach to the SOIC-8 flash chip, and something to program it with - I used a Raspberry Pi Pico.
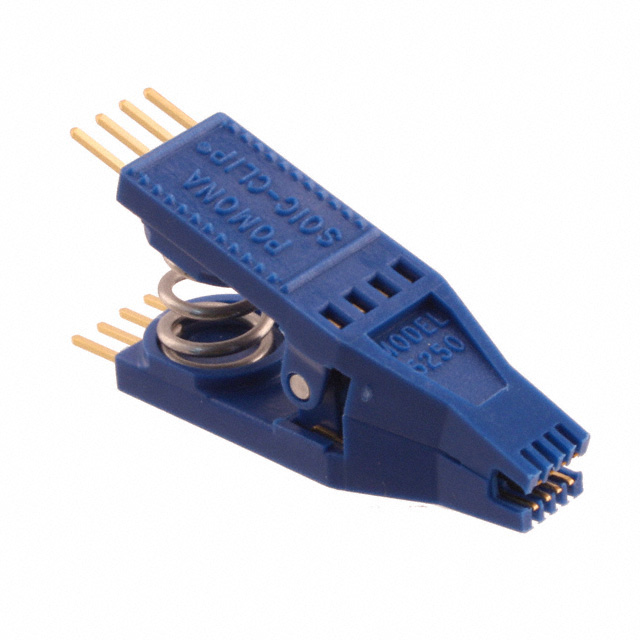
A Pomona 5250 clip - the recommended brand.
This is a Pomona 5250 clip - they’re the recommended brand to use, but a bit pricey. I ended up using some cheap AliExpress chip, and I definitely would not recommend it - it was extremely fiddly to attach.
Once you have a clip and a programmer, wire it up as described in the documentation. The next step is to actually build a flashable image for the machine. There’s two ways you can do this - either use the latest release tarball and inject the necessary vendor blobs, or build it from source. Initially, I just used the release tarball, but I wanted to make some tweaks to the configuration.
Notably, you should also update the Lenovo firmware to the latest version before you start - there’s some fun bugs with the Thunderbolt chip in older firmware that can break fast-charging after a number of charge cycles, among other things. If this has already happened to you, the Libreboot docs have some info on how to fix it.
Building a release image#
The documentation has quite a bit of exposition for the process of using a release tarball, but it’s really not that complicated - everything is now automated in recent versions, and the documentation doesn’t reflect that well.
The first step is to download a release tarball from the site, then clone the lbmk repository on a Linux machine - this is Libreboot’s build system. Setting up a release image goes as follows:
- Run
sudo ./mk dependencies <distro>to install the (many) necessary dependencies. - Run
./mk inject <tarball>to inject the vendor blobs - for example, I ran./mk inject libreboot-26.01rev1_t480s_vfsp_16mb.tar.xz. - This will take quite a while, and at one point it’ll start looking like it’s dumping a pile of errors related to extracting vendor files - this is fine, it’s just noisy.
- Once complete, you should be able to extract the tarballs, and grab your prepared image.
The prepared tarball will have a bunch of images with names like seagrub_t480s_vfsp_16mb_libgfxinit_corebootfb_usqwerty.rom:
seagrubis the payload. You probably want this one.t480s_vfsp_16mbis the board configuration.libgfxinit_corebootfbis the video mode - you want this one.usqwertyis the keyboard layout.
Building from source#
Compiling Libreboot is actually not that much more difficult, it’s all very automated. This also allows you to set some config options, like turning Hyperthreading back on and swapping the Fn and Ctrl keys - the former is disabled by default for security reasons.
- Install dependencies as before.
- Run
./mk -m coreboot t480s_vfsp_16mbto pull up the configuration. You can enable the Hyperthreading and Fn-Ctrl swap options under the Chipset menu. Save and exit, then it’ll pop up again - do the same thing again. - Run
./mk -b coreboot t480s_vfsp_16mbto build the images. This will automatically inject the vendor blobs for you. - The final ready-to-use images will be under
bin/t480s_vfsp_16mb.
A little hardware hacking#
Now it’s time to actually flash the firmware. You’ll need to pop off the back cover and remove the battery - see this iFixit guide. The firmware flash chip is located next to the DIMM slot, it’s a little SOIC-8 8-pin IC surrounded by tiny resistors.
On the note of those resistors, it’s important to be incredibly careful while hooking up the flash chip. If it isn’t seated correctly and pops off, or you’re not careful putting it on, you can knock some of them off and gift yourself a new microsoldering project. I recommend only opening the clip as much as you need to seat it on the pins, and giving it a gentle wiggle to ensure it’s secure - I buzzed out the leads with a multimeter to check for any shorts as well.
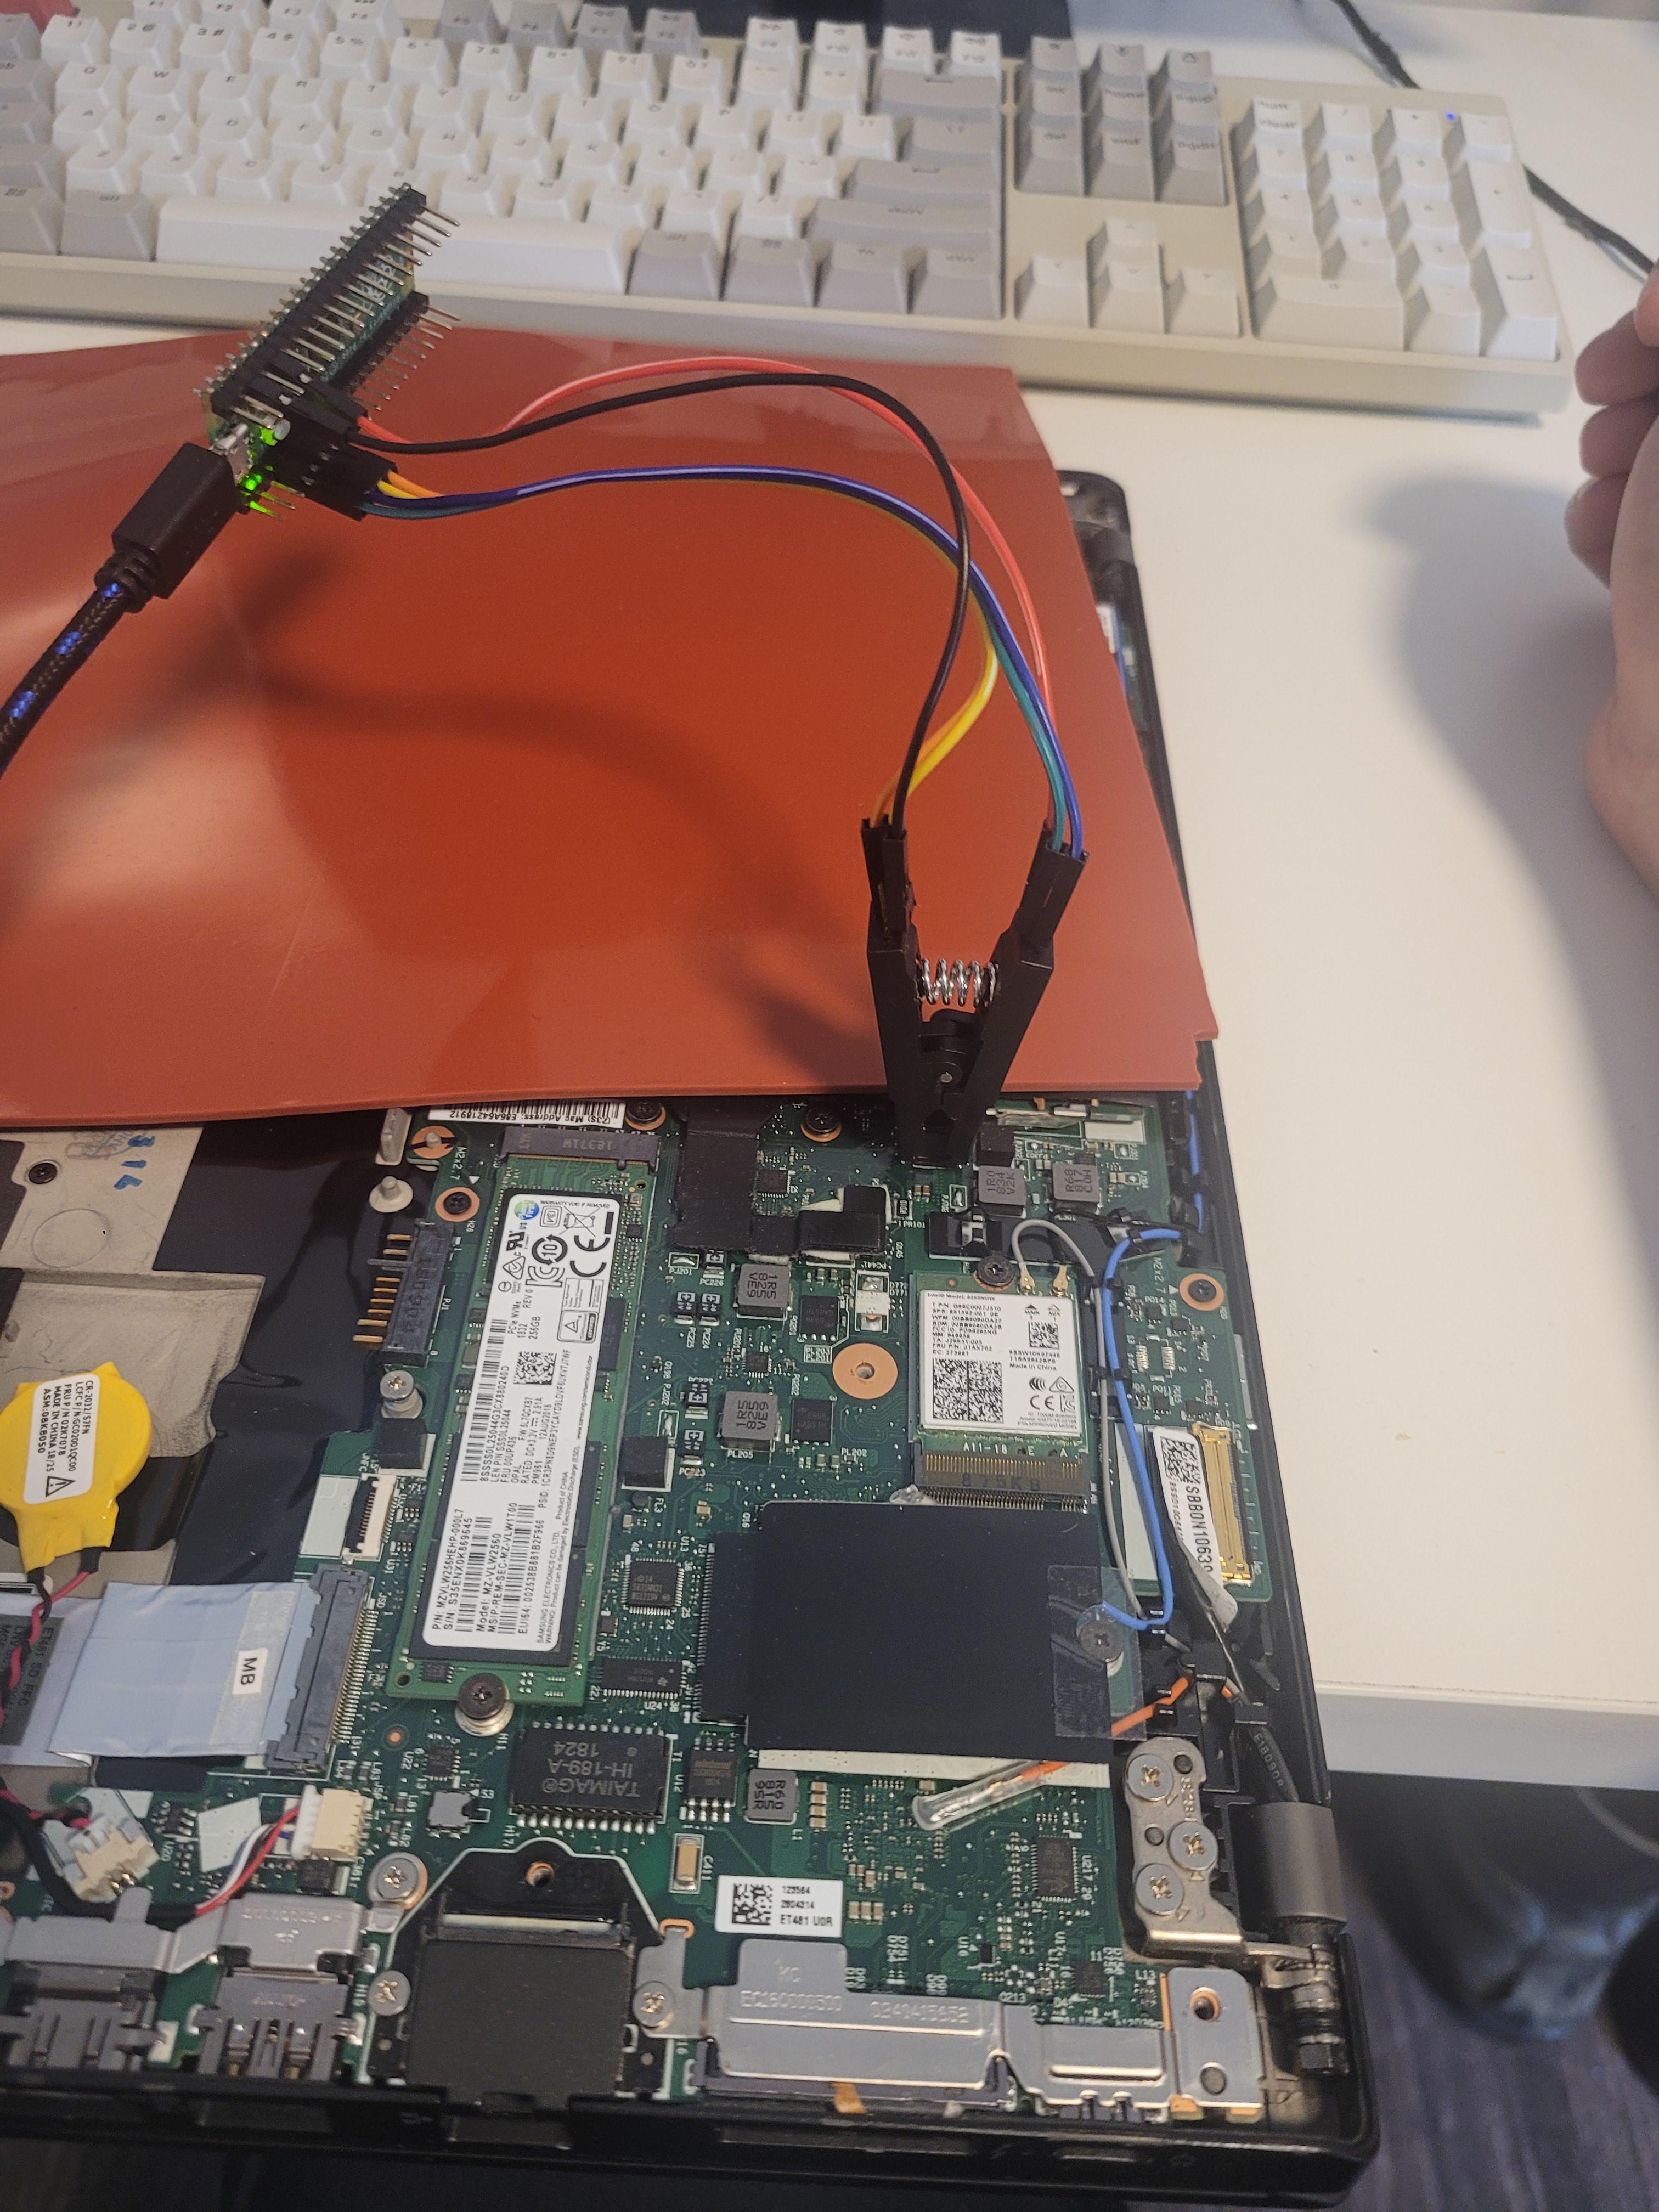
Here’s my cheapo clip connected to the flash IC.
It’s incredibly important to never move the clip with the programmer plugged in. You’ll probably poke something you don’t want to with 3.3V. Connect the clip, plug in the programmer, then do the reverse to disconnect.
Next up, make at least two dumps of the original firmware and verify them. You’ll need to use the flashprog tool for this, which is bundled with Libreboot - you can also install it with pacman if you’re on Arch.
- Run
sudo flashprog -p serprog:dev=/dev/ttyACMx,spispeed=16Mto check if the chip is detected - it should be some variety of Winbond. - Run
sudo flashprog -p serprog:dev=/dev/ttyACMx,spispeed=16M -r dump1.bin --progressto dump the flash, and do this a second time todump2.bin. - Check if the dump worked by doing
strings dump1.bin- you should see some actual strings in there. - Compare the two dumps with
sha256sum dump*- they should be identical. - Finally, flash Libreboot with
sudo flashprog -p serprog:dev=/dev/ttyACMx,spispeed=16M -w seagrub_t480s_vfsp_16mb_libgfxinit_corebootfb_usqwerty.rom.
Now you can disconnect the programmer, remove the clip extremely carefully, and re-assemble the laptop. You should be greeted with the Libreboot boot screen!
Conclusion#
Overall, even though I don’t have much actual reason to use Libreboot, it was pretty fun getting it to run on my laptop. The flashing process is pretty nerve-wracking, but I do enjoy a bit of hardware hacking.
In terms of functionality, I haven’t noticed any issues at all. It booted straight up into my Arch install like nothing changed, and everything seems to work great - battery life is still as good as before, Wi-Fi is fine, and all the Fn controls work.
I definitely wouldn’t recommend this to anybody (or most people at all), but if you’re a turbo-nerd like me and don’t mind a bit of hardware work, it’s pretty neat.
As a bonus, you get to be One Of Those(tm) ThinkPad girls at the end of it!